Introduction
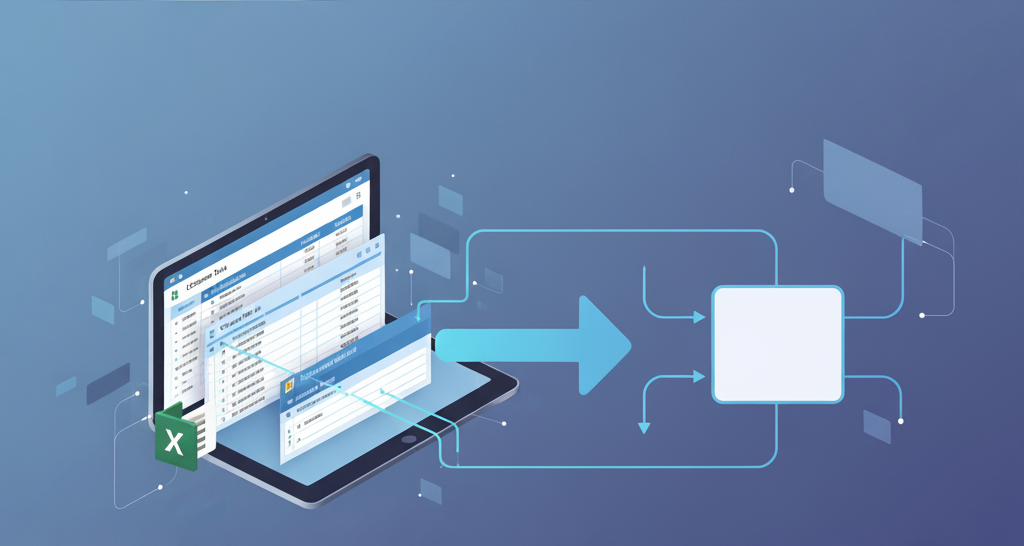
Integrating external REST APIs into your Power Automate flows opens up a world of possibilities—from enriching your data to triggering workflows based on external events. In this post, we’ll walk through how to make a simple GET request to the Dog API, a fun and free API that returns random dog images and breed data.
This example is perfect for beginners looking to understand how to use HTTP actions in Power Automate.
Building The Power Automate Flow
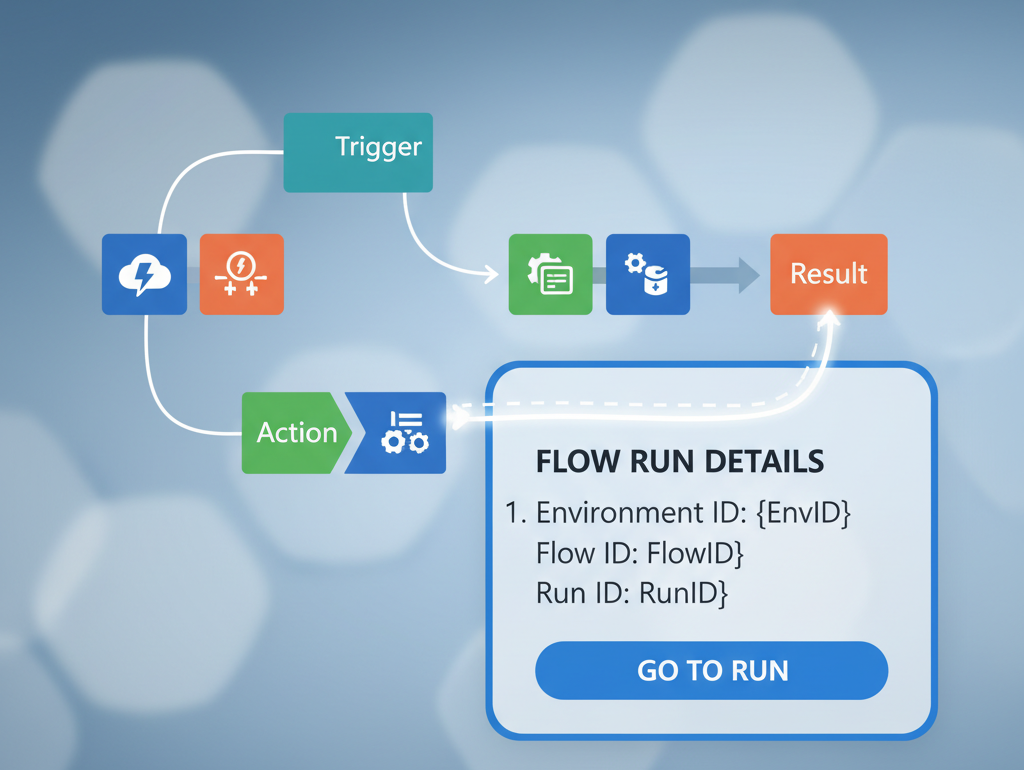
Step 1: Create a New Flow
Go to Power Automate.
Click Create > Instant cloud flow.
Choose Manually trigger a flow and name it something like
Dog API GET Request.
Step 2: Add an HTTP Action
Add a new step and search for HTTP.
Choose the HTTP action.
Configure it as follows:
  Method: GET
URI: https://dogapi.dog/api/v2/facts
This endpoint returns a random dog fact.
Step 3: Test the Flow
Click Test > Manually > Run Flow.
Once the flow runs, inspect the Outputs of the HTTP action. You should see a JSON response like:
  {
  "facts": [
    "Dogs have three eyelids."
  ],
  "success": true
}
Step 4: Parse the JSON Response
To use the data in later steps, add a Parse JSON action.
- Content:
Bodyfrom the HTTP action. Schema: Use the following schema:
  {
  "type": "object",
  "properties": {
    "facts": {
      "type": "array",
      "items": {
        "type": "string"
      }
    },
    "success": {
      "type": "boolean"
    }
  }
}
Step 5: Use the Data (e.g., Send an Email or Post to Teams)
Now you can use the parsed data. For example, add a Send an email (V2) action:
  To: your@email.com
Subject: Dog Fact of the Day
Body: @{body('Parse_JSON')?['facts'][0]}
Or post it to a Teams channel using the Post a message in a chat or channel action.
This simple example shows how easy it is to connect Power Automate to external APIs. You can expand this by using other endpoints from the Dog API, such as:
https://dogapi.dog/api/v2/breeds
https://dogapi.dog/api/v2/images