Setting up the Canvas App
For this example we are going to build a simple calculation, we can obviously do this a lot easier inside the canvas app however for this we want to keep it simple to show what is possible.
Below is a brief example of how the app is set up.
Building The Power Automate Flow
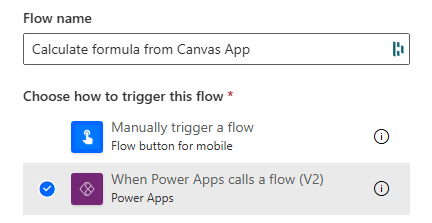
Now we have a simple design for the the app we now need to build the automation. Within Power Automate create an ‘Instant Cloud flow’ and select ‘When Power Apps calls a flow (V2)’ and the trigger for the flow.
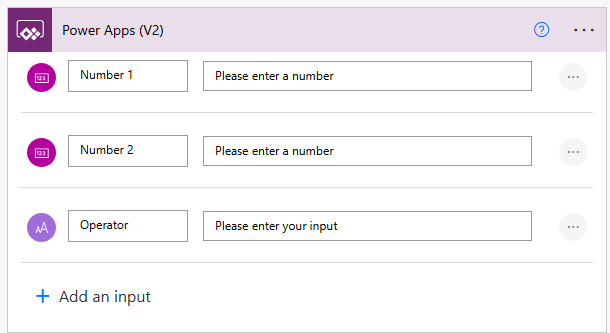
Within the Canvas app we had 3 fields we created that we need to pass into the automation:
- Number 1
- Operator
- Number 2
Now inside the a ‘Compose’ action we are going to do a simple calculation using an expression but we can also use a switch statement if you prefer.
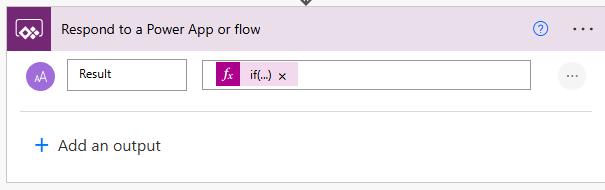
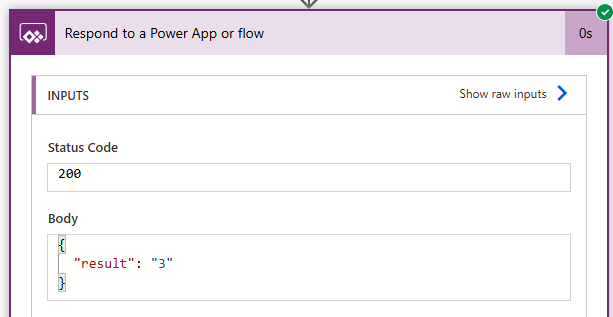
Finally we need to tell the automation to respond back to the app, for this we will use ‘Respond to a Power App or flow’ action. Within the action we will want to work out the calculation and return the value to the app. The value we will return will be stored inside the ‘Result’ we have defined as you can see below:
Once we have saved the flow we can go back to the app and add the automation to our canvas app.
Adding Power Automate to a Canvas App
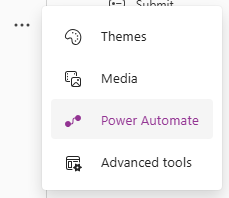
Within the canvas app we now need to add the Power Automate flow to the canvas app, on the left hand side select the 3 dots and then select ‘Power Automate’.
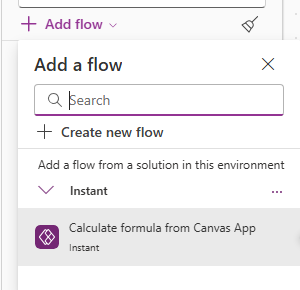
From here we could have added a new flow however since we have already created the flow, select ‘Add Flow’ and select the previously created flow. This will now be added to the app
Now that the flow has been added to the app we can add the logic to our submit button. On the submit button go to the ‘OnSelect’ properties if we start typing in the name of our flow we will see it show under the suggestions. We want to use the ‘.Run’

When we type/ select this you will see the parameters that that is required for the flow to run, these come from the Trigger we set in the power automate flow.

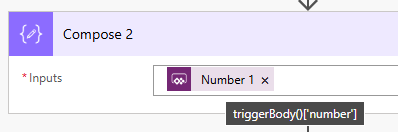
If you are unsure which one is which, you can put the dynamic content into a compose and as you hover over you will see the name of each parameter which is what the Canvas App is refering to.
The formula will look something like below:

If we now click the button the flow will run and in the automation run we can see the result
However in the app it will appear like nothing has happened, this is because we now need to return the value from the Power Automate Flow.
Back to the button if we wrap the flow inside a variable we can then return the result from the Power Automate flow. For this example we will be creating a variable called ‘CalculationResult’ and after the formula for the flow we will add ‘.result)’.
‘result’ is the output from the power automate flow, displayed above.
 Now when we click the Submit button we can see the output result
 This is a very simple example however we could use power automate to return data from different data sources the user would have access to, create files and folders inside of SharePoint and even use 3rd party API’s to connect to different data.