Create Dataverse Form

Introduction

Once you have create created the relevant tables you can start to build forms within Datavese.

To start go to the table you want to add a form to and click ‘Forms’. There are a few different types of forms you can create these are:

  • Main Form – Most common type of forms, this will be the main form you see when opening a record
  • Quick View Form -These are commonly used when wanting to show specific data from a related record 
  • Card Form – Used within main forms to display read only information
  • Quick Create Form – Commonly used when creating records within subgrids 

In this post we will focus on creating a ‘Main Form’

Basic Components

There are a couple of ways to add components onto the form. The simplest way is to grab a field from the left hand side navigation under table columns and drag them to where you want on the form.

Each component depending on the field type will have it’s own set of properties for example adding a field which is a text value will only have a few options such as:

  • Hide Label
  • Hide on phone
  • Hide
  • Lock
  • Read-only

Other fields such as lookups will have additional options such as New and edit form settings along with views and filtering.

Another way of adding components is by using the ‘Components’ option from the left hand side navigation you can add components like Checkbox, number input which aren’t readily available from just adding the field. Once the component has been dragged onto the form it will then ask you to select the field to map it against for it’s intended use. 

In most cases you will find yourself adding fields to the form instead of components, with the exception of a few which don’t expicity relate to a column e.g.  subgrids, timeline, quick view.

Tabs & Sections

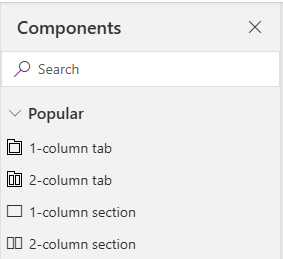
To add new tabs and sections simply drag and drop a Tab or Section from the components side bar and place them onto the form. Once you click or drag onto the form this will appear straight inside the designer.

 
Image 1
Image 2

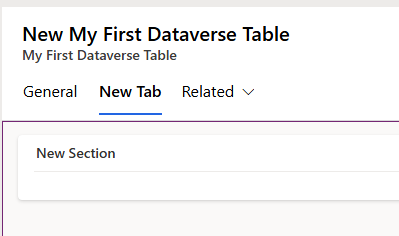
On the right hand side is the properties pane for the selected control. There are a few settings you will want to change such as label as this will appear on the form. You can hide the label on sections but you cannot hide the label on tabs. 

You may also want to change the name of tab or section, this isn’t important visually but as you dive deeper and start using javascript etc you may want to reference the name of a tab or section

Lookups and Subgrids

If you have a field that has a 1 to Many relationship from the form you can add subgrid to the form. Subgrids are a way of displaying multiple related records inside a form. For example a if have a table/ entity for Office locations, you may want to show all the employees associated with that location. 

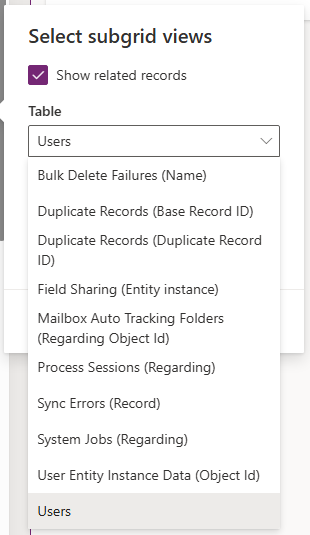
To use subgrid click or drag the ‘Subgrid’ onto the form, a popup will appear to select the relationship from the other table you want to use. Subgrid’s on a form is many records from another form relate to one record from the current form.

Select the table you want to get the relationship from and then select the view that you want to appear for the grid

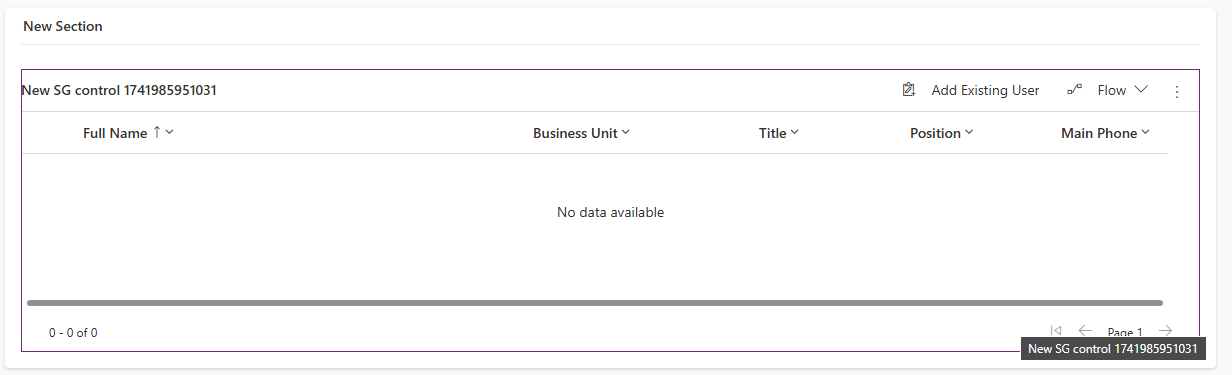
Once added to the form you will see the selected view that has been selected within the grid. You can change the view and even add filtering based on relationships from that record by going to properties of the subgrid.
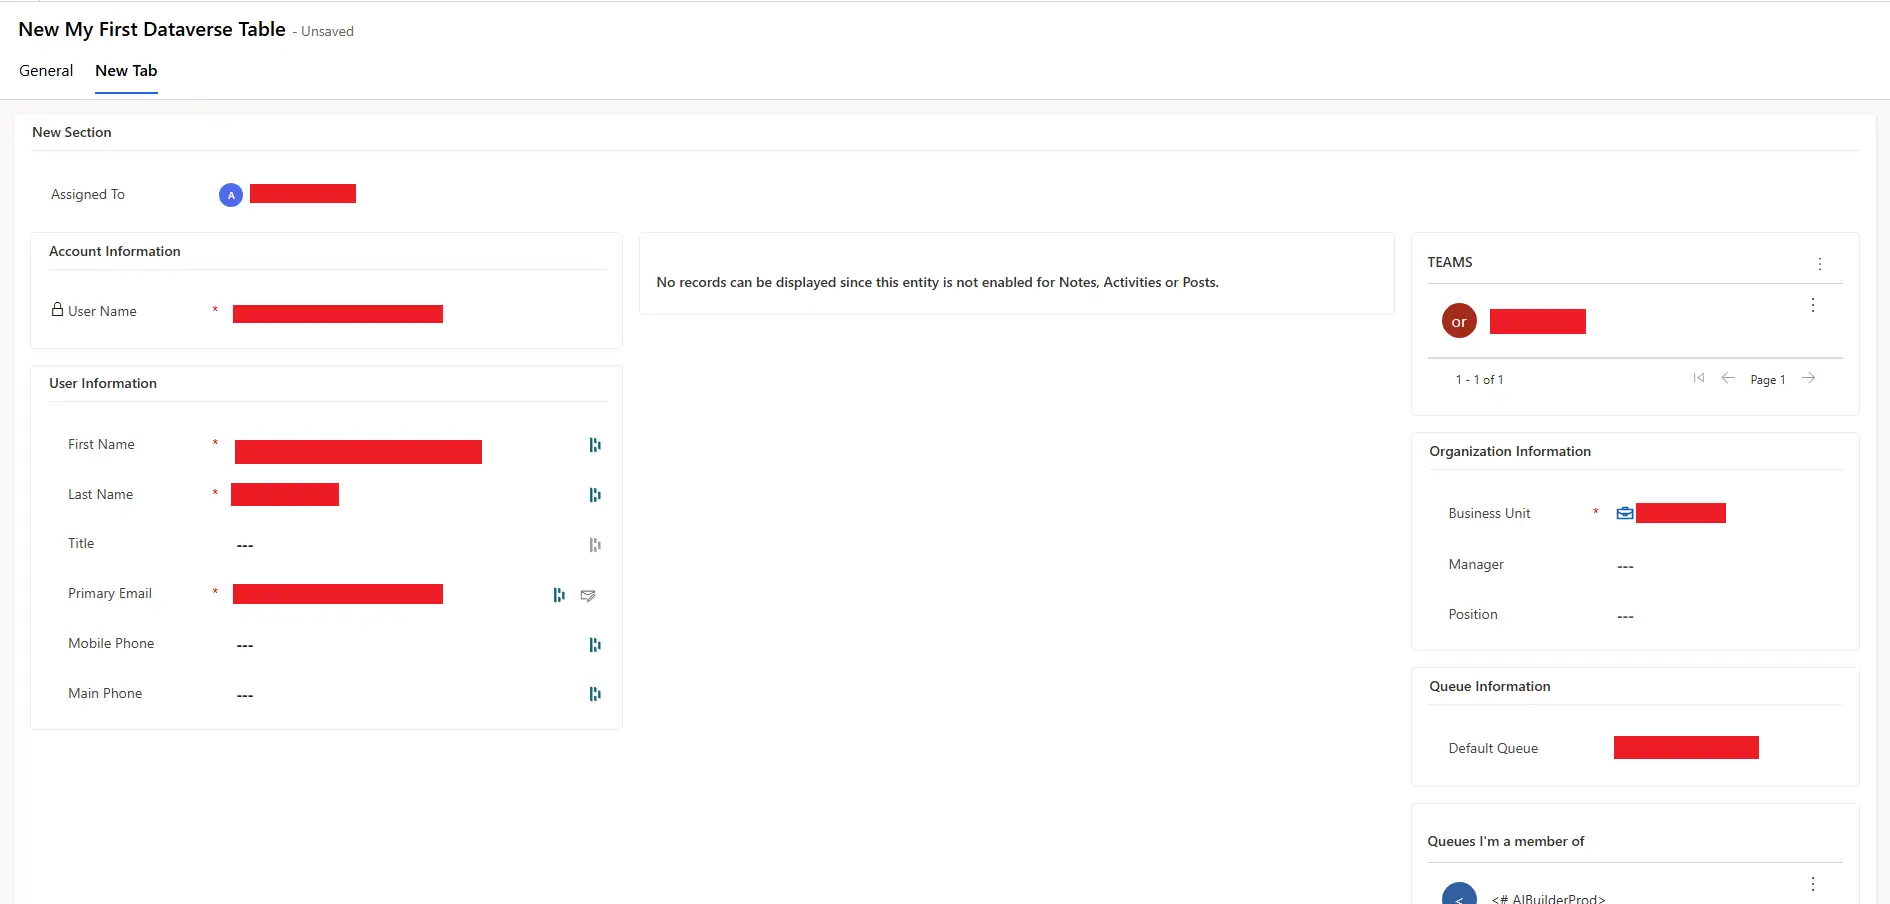
Related Forms

There may be times where instead of repeating information from another table you want to quickly surface this information inside another form. Surfacing data this way means that only 1 record needs to be kept upto date rather than creating extra complexity by having to keep multiple records upto date.

To add a related form search for form inside the component pane and add it to the form. Simular to the subgrid you will be asked to select the lookup column and the form you wish to view on the form.  

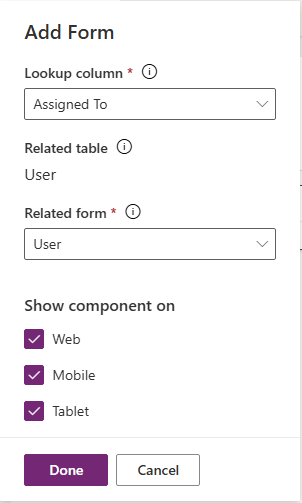
When this is added to the form you may notice the control say ‘Source record not selected’, this is because a record needs to be assigned to that column before the data is visible on the form.

To do this you will also need to add the column or field from which the form is getting the data from as below, once a record is selected we can now see the related data from that selected record


Coming from Canvas Apps to model driven apps forms can seem easier to begin with as there isn’t need to make the form pixel perfect, there are may prefixed areas of the form, however they do have their own limitations not just by design but by functionality, however there is a big difference in time saving and a lot of limitations can be overcome by using javascript or PCF Tools however both of these methods so require additional coding and can be a bit more daunting than canvas apps with Power FX code.

Like this post? Why not share it!

LinkedIn
WhatsApp
Facebook
Reddit
X
Email

View more blog posts

Get Unique Data from SharePoint List

2 min read

Read this blog

Getting Started With Power Automate

8 min read

Read this blog

Setting Dataverse LookUp Value to Null Using Power Automate

1 min read

Read this blog

Using Environment Variables

4 min read

Read this blog

Get In Touch

Let’s talk. Send us a message, and we’ll help you explore the best Power Platform solution for your business

We can turn your mondain tasks into effective workflows, saving you and your business time and money